Vivid-Pix on dive photos

I have gradually been building up my selection of underwater photos after nearly three years of diving in Cayman (see some details here). The problem with taking photos under water is that the water absorbs the colour wavelengths, first the yellows, then the reds until finally everything you see is blue. You can get creative with Photoshop, but I came across a program specifically designed for editing underwater photos, vivid-pix. I downloaded a free trial and some sample before and afters are below. The program analyses each photo and gives a selection of 9 different recommendations for an initial edit, which can then be tailored with individual aspects, such as light, contrast and depth correction. Given how relatively easy it is to use, it seems like a very handy program but with further experimentation to ensure that colours are not too saturated.
A sample of the nine different selections after vivid-pix analysis:

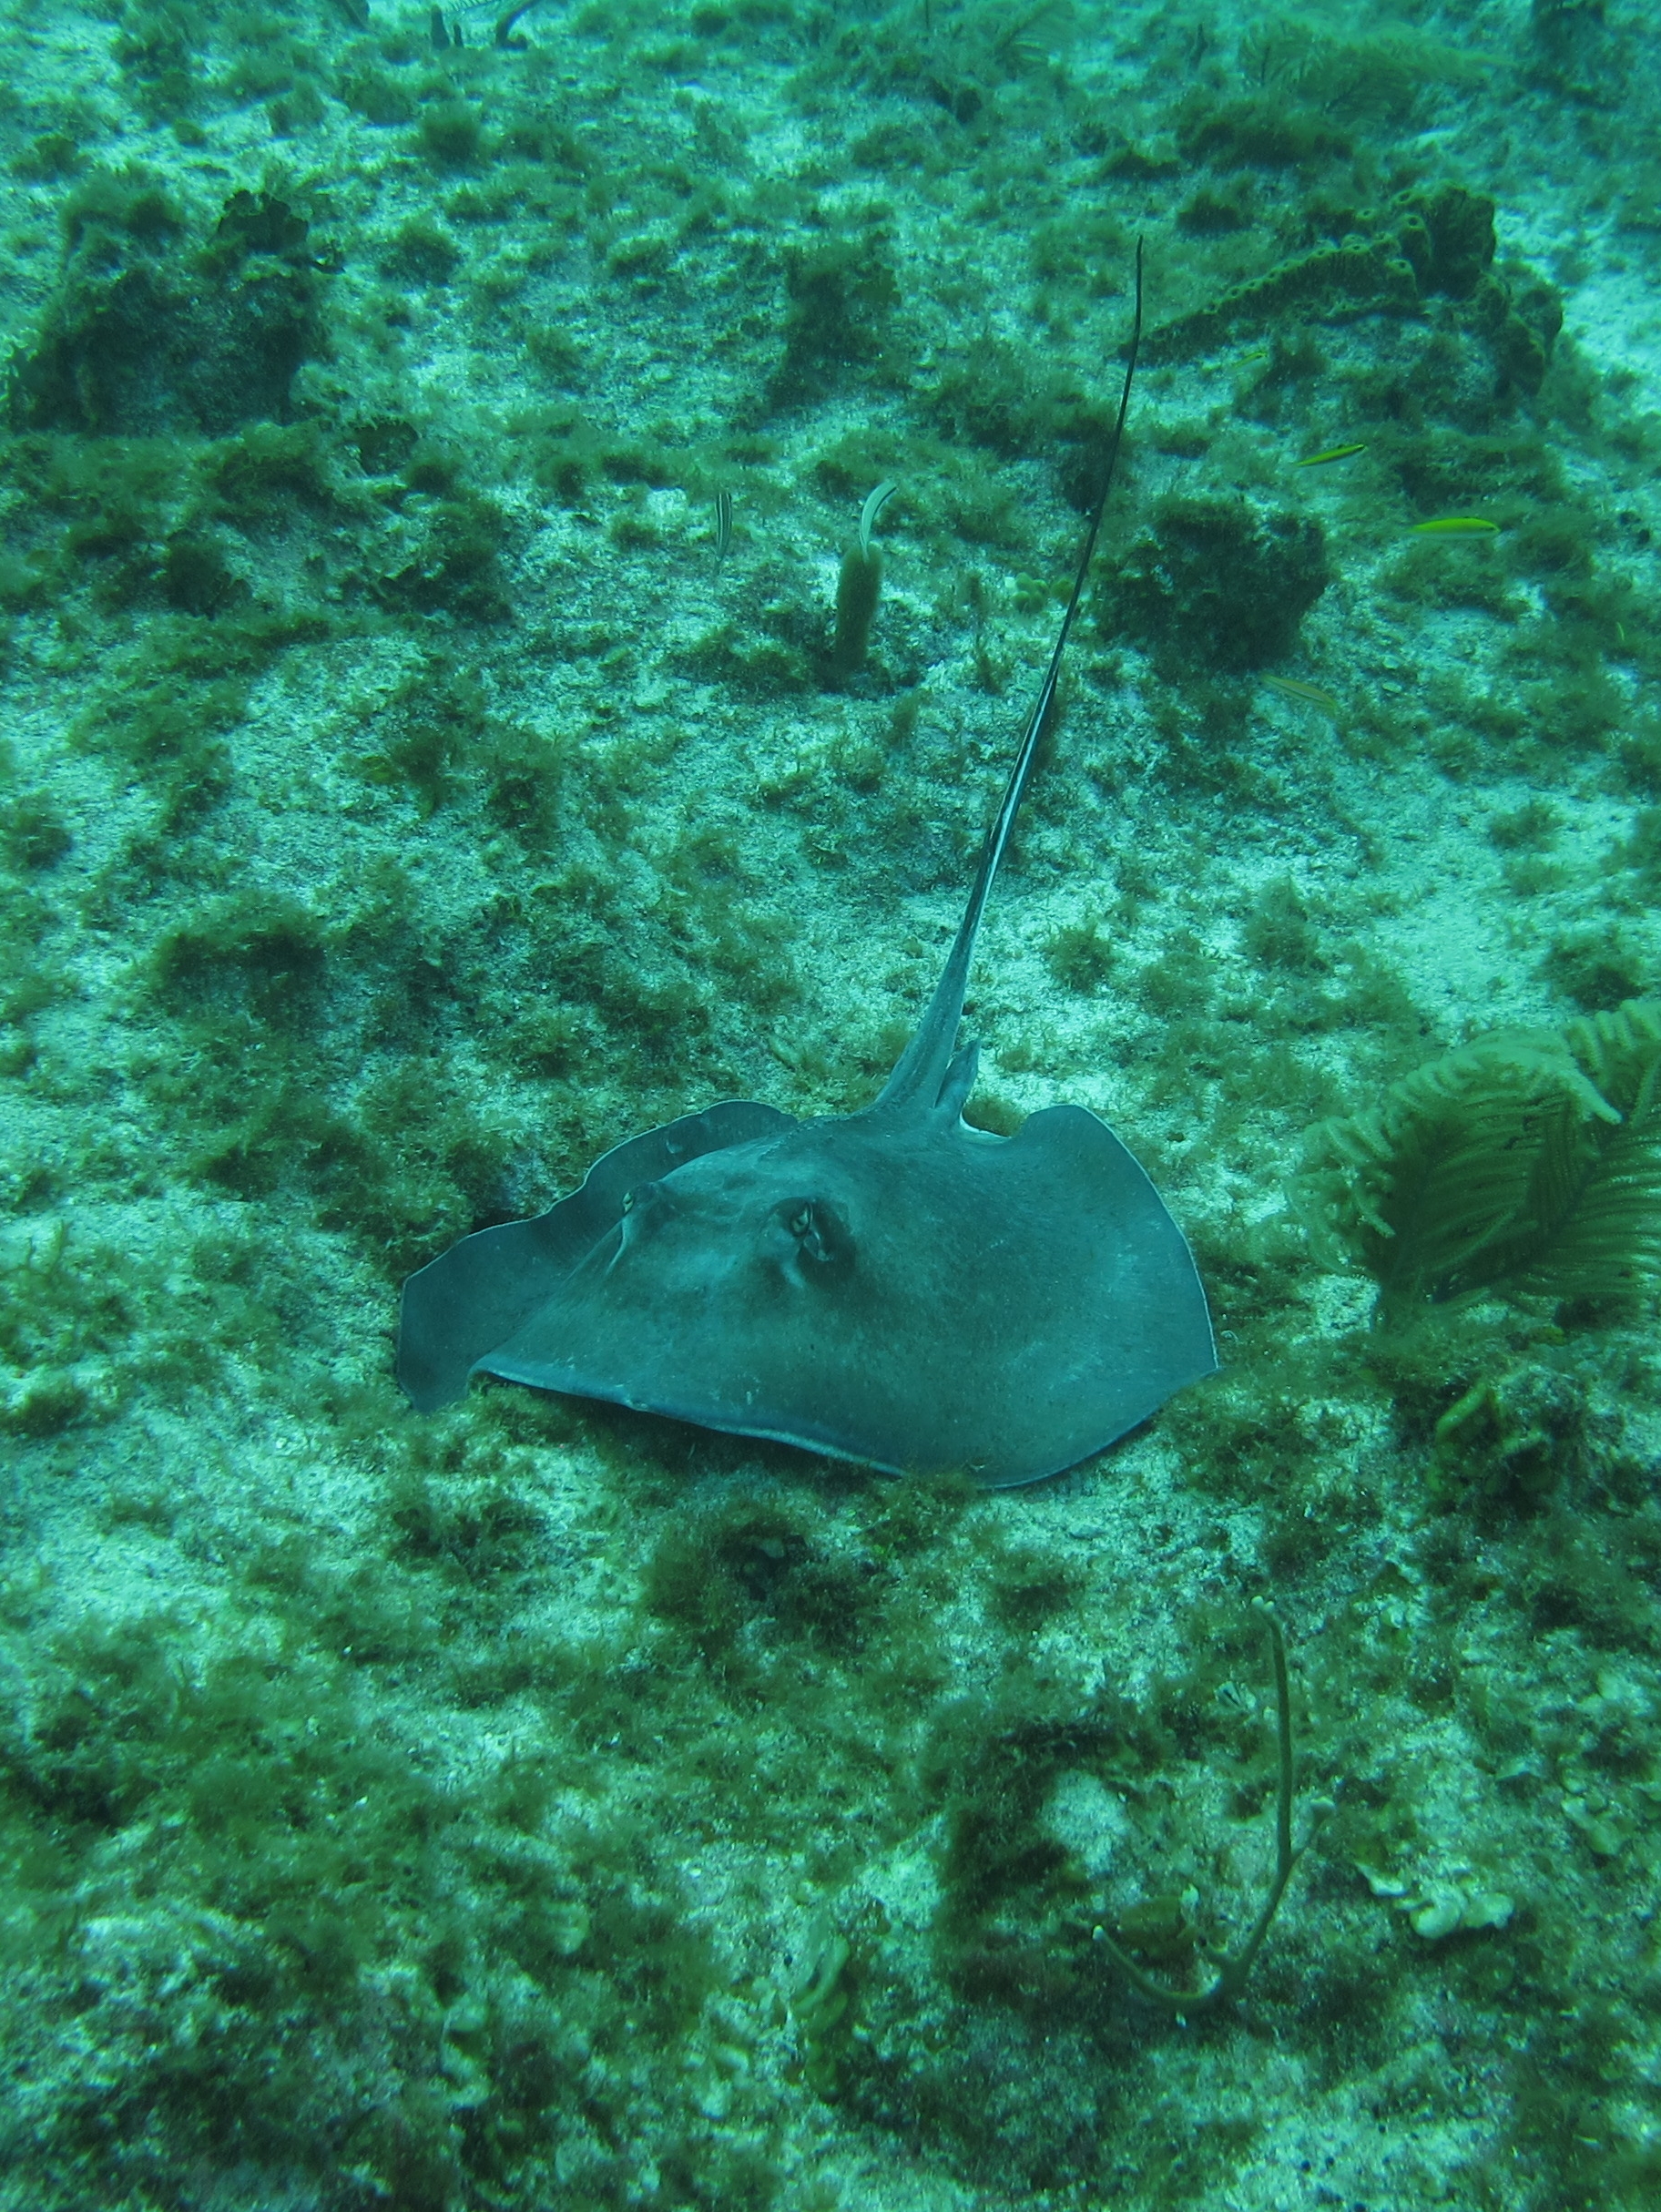
A Stingray, before and after.


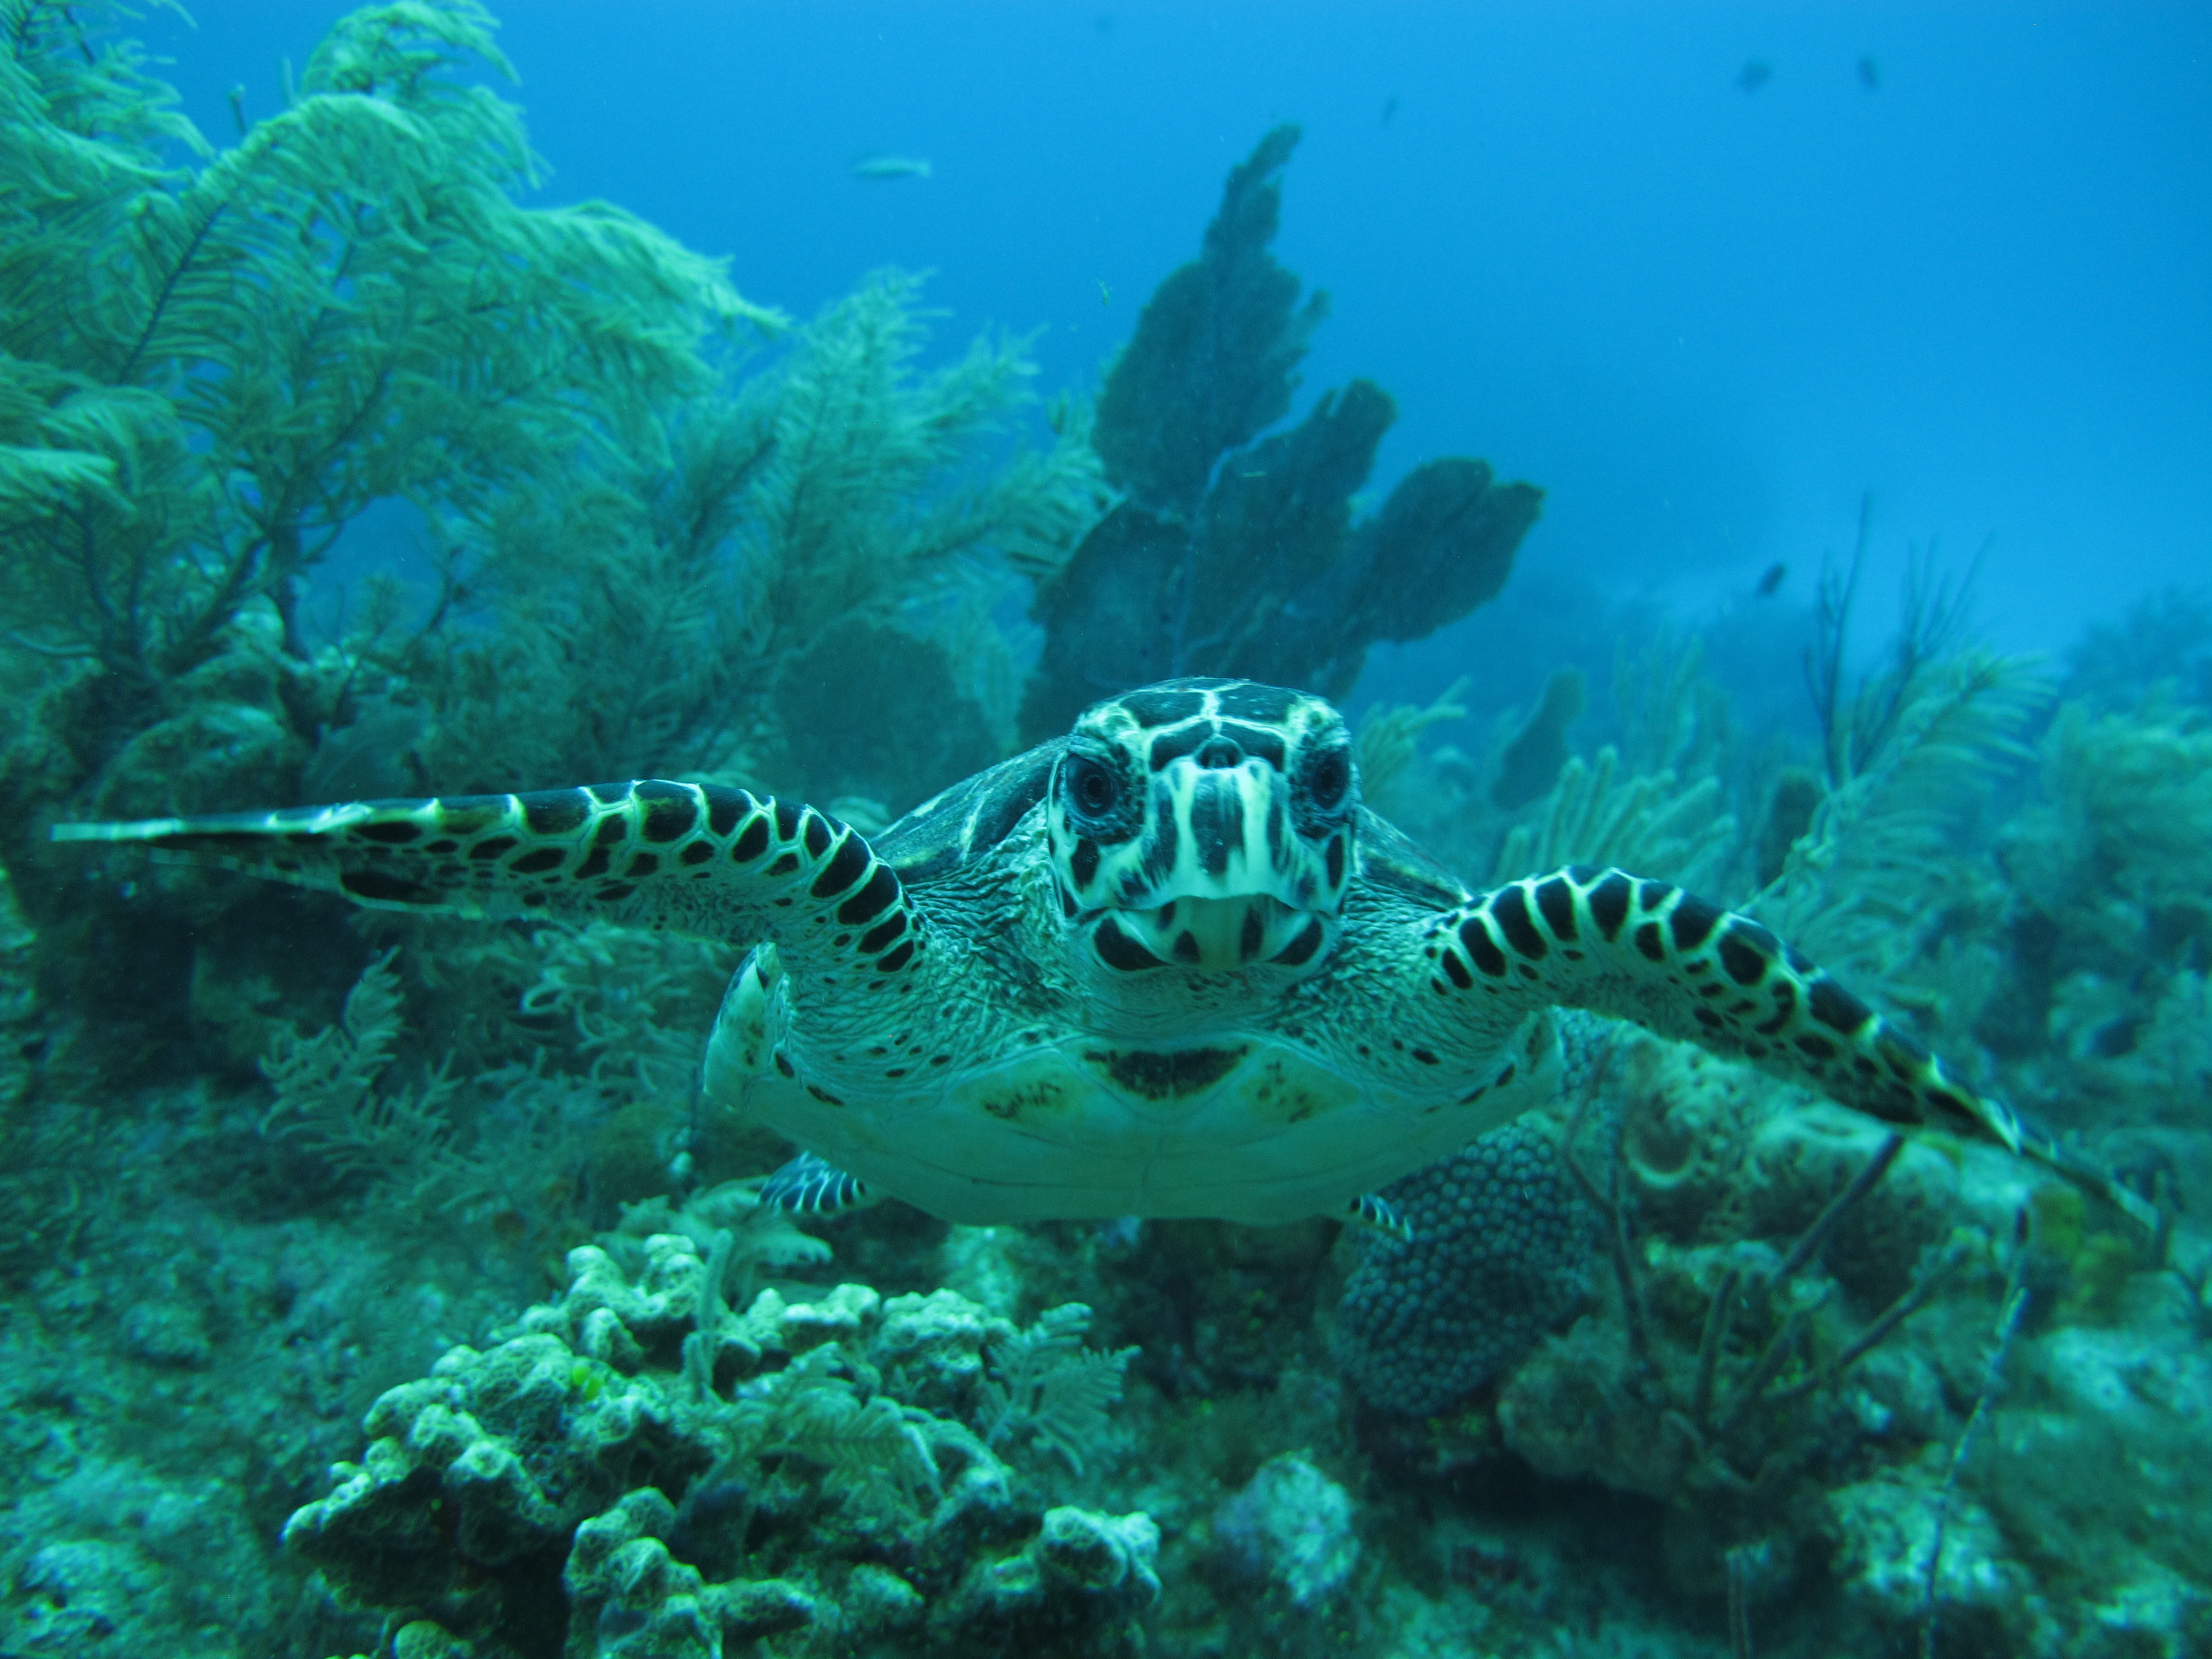
This inquisitive little fellow swam straight into the camera.

I wouldn’t believe that this picture was real if I hadn’t taken it myself.

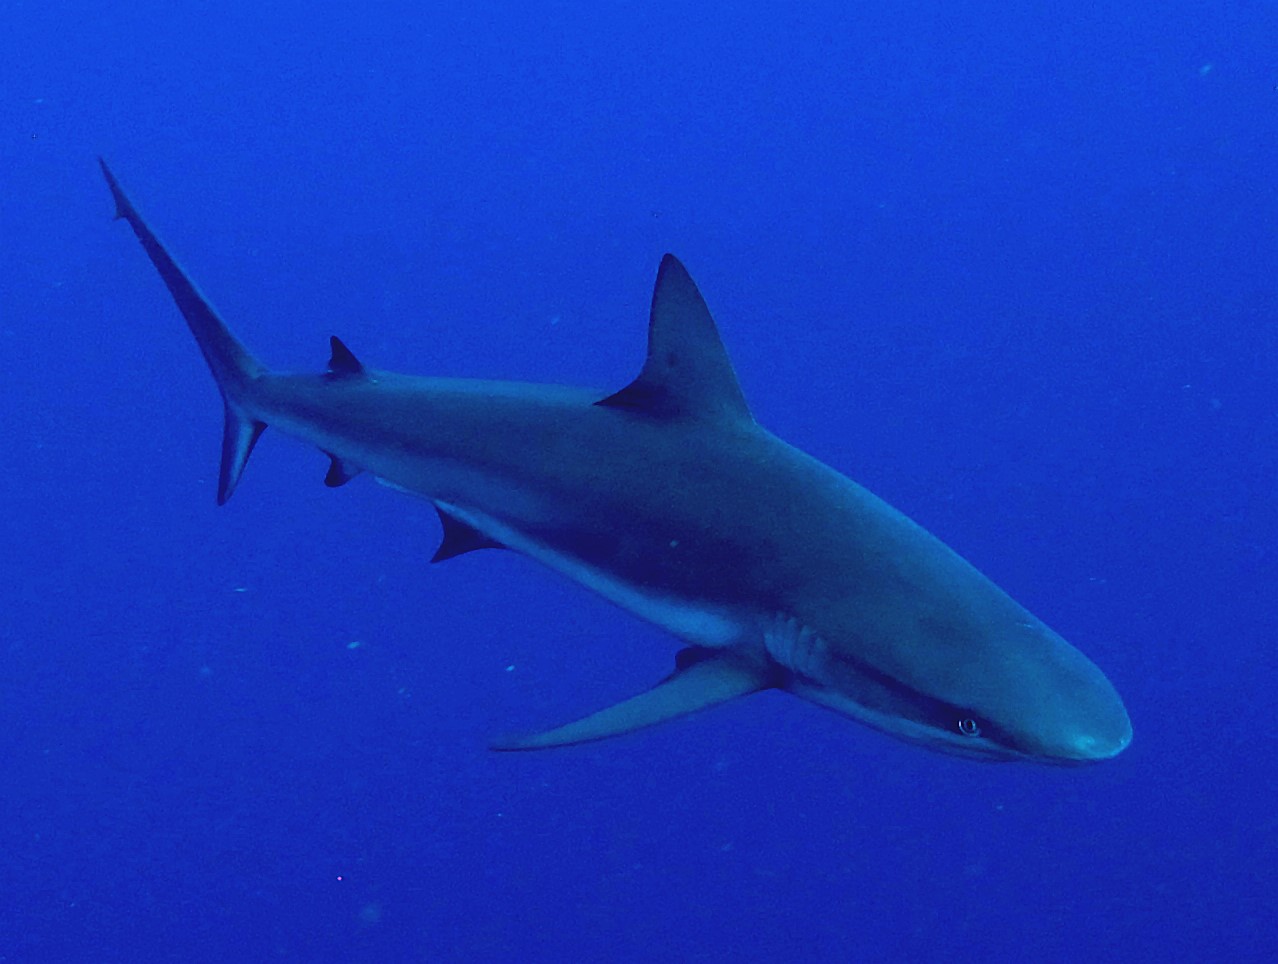
A different shark on the same trip, but I’m pleased with how the picture has come out as well.


My favourite scenic shot.

The barracudas here have a worse reputation than the sharks, amongst my friends at least, and this picture really captures their malignant intensity.


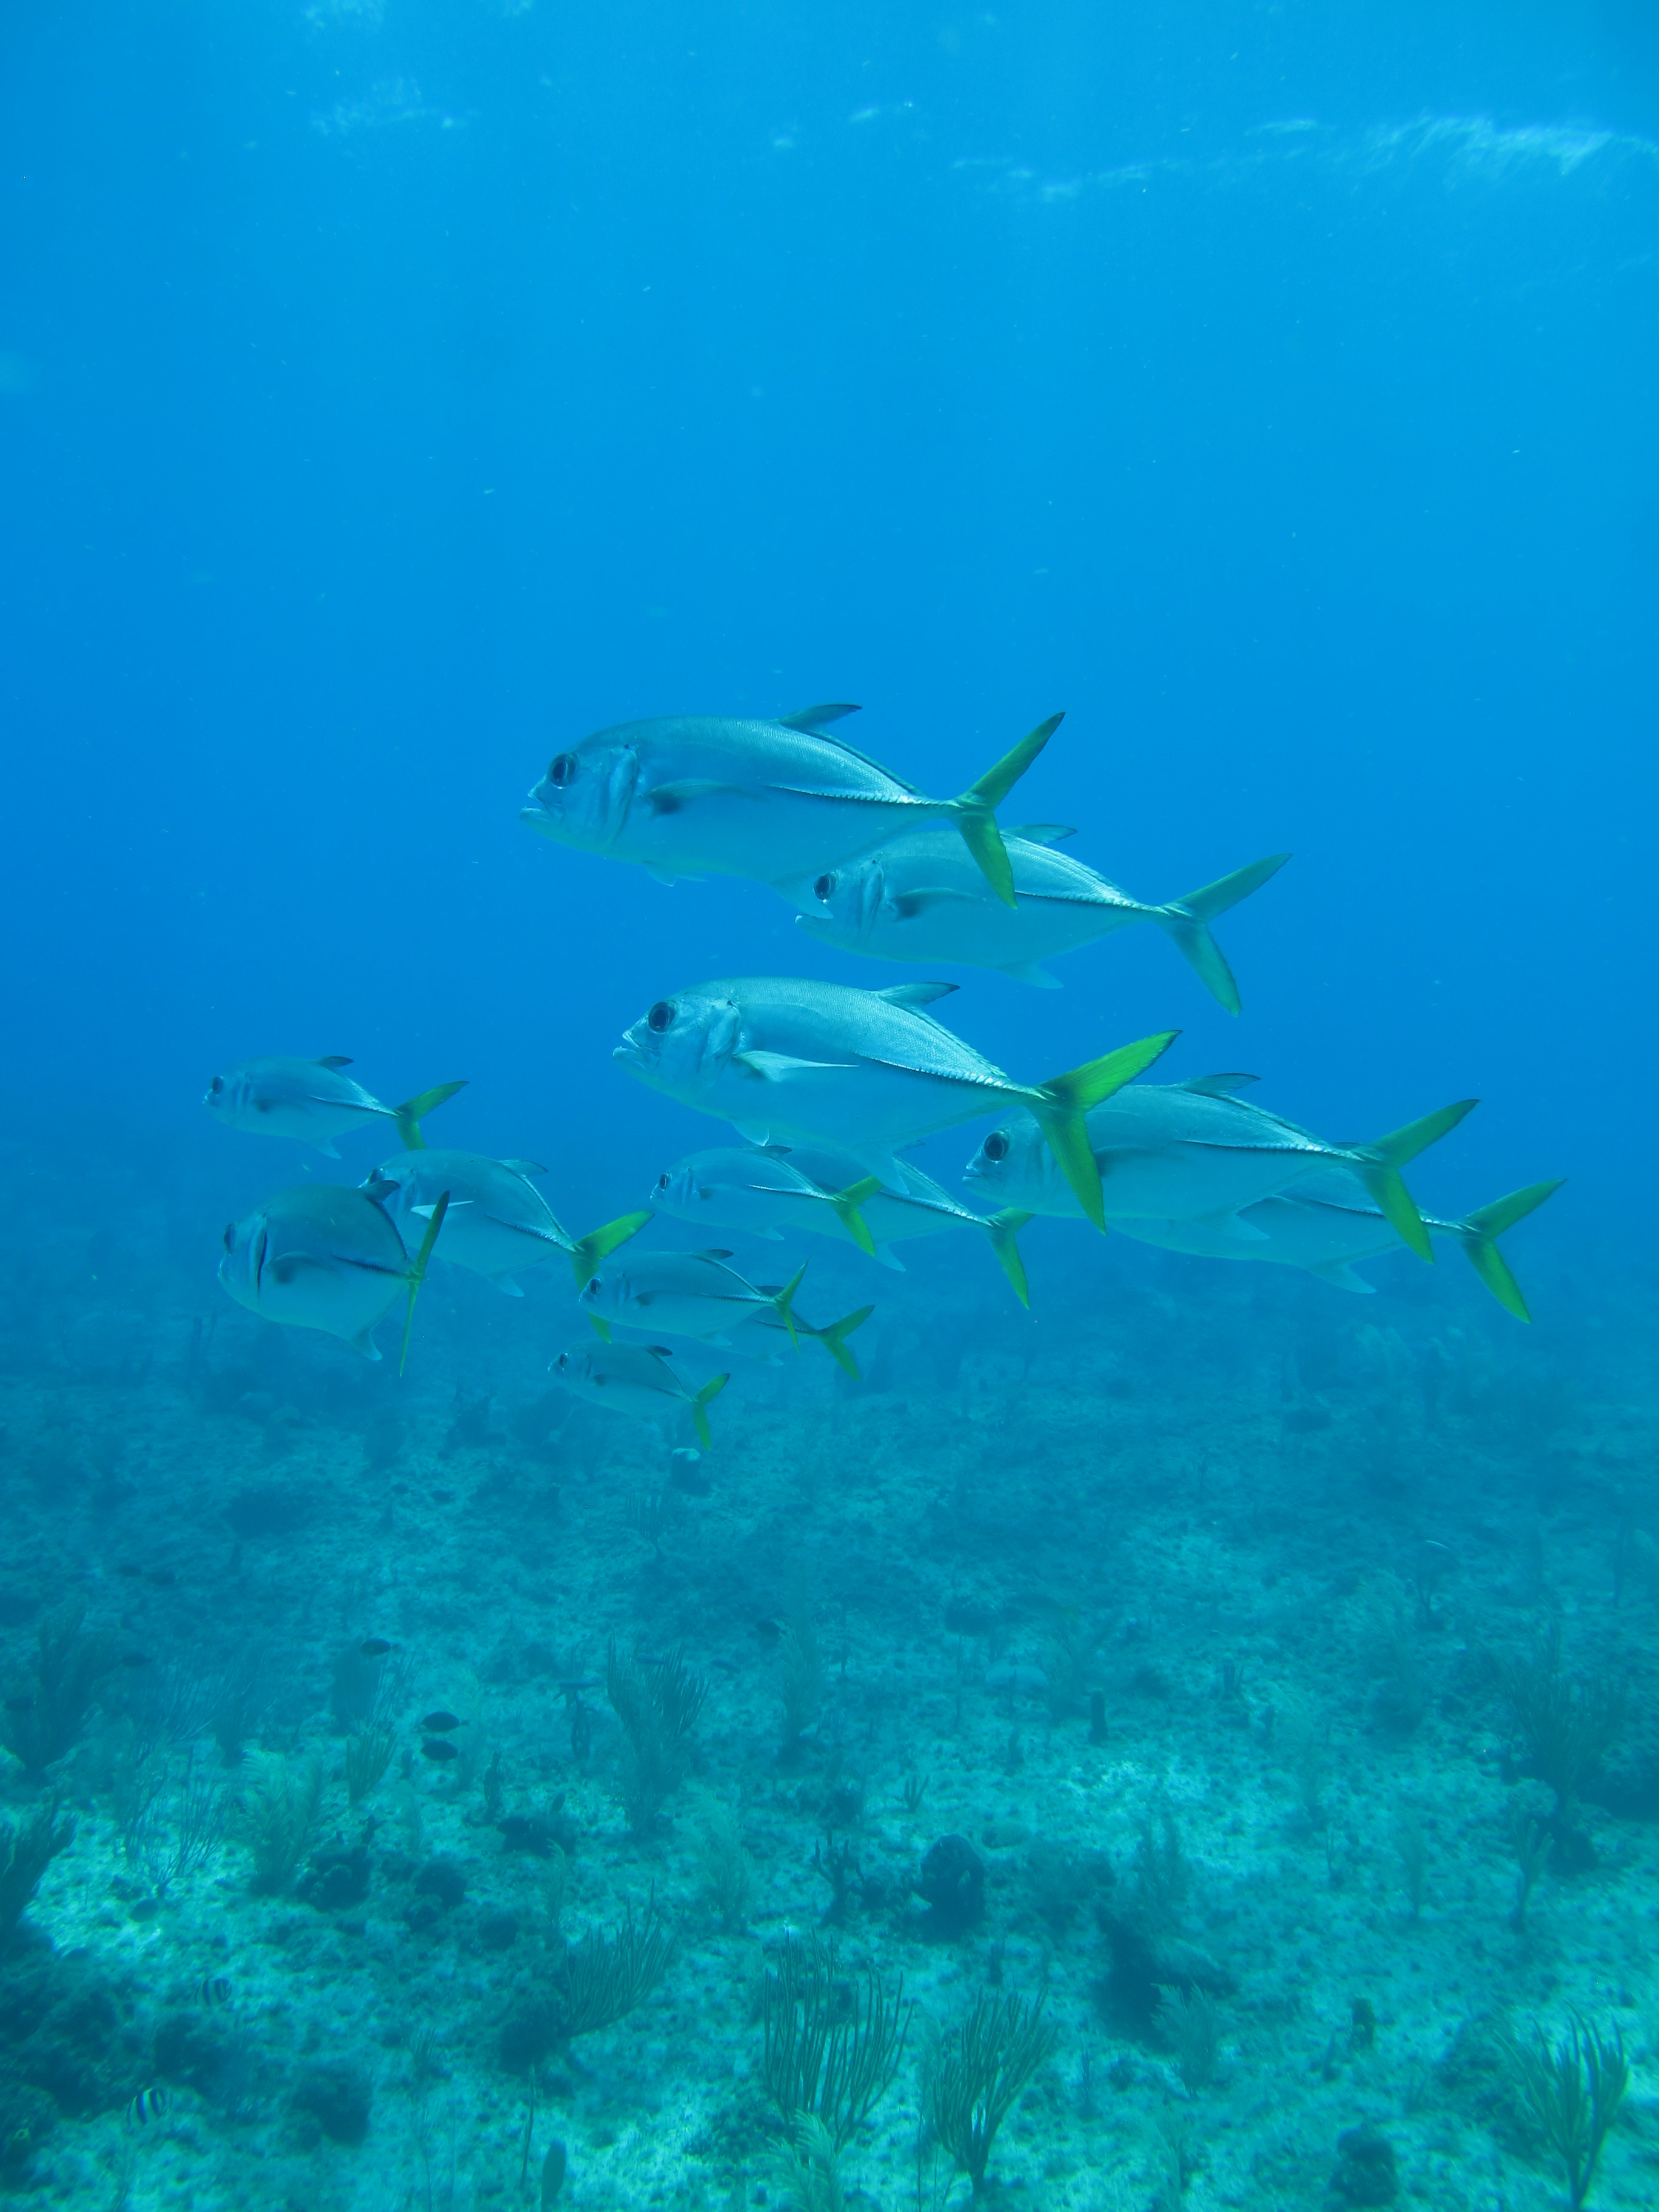
The depth behind these Horse-eye Jacks makes the vivid school stand out.

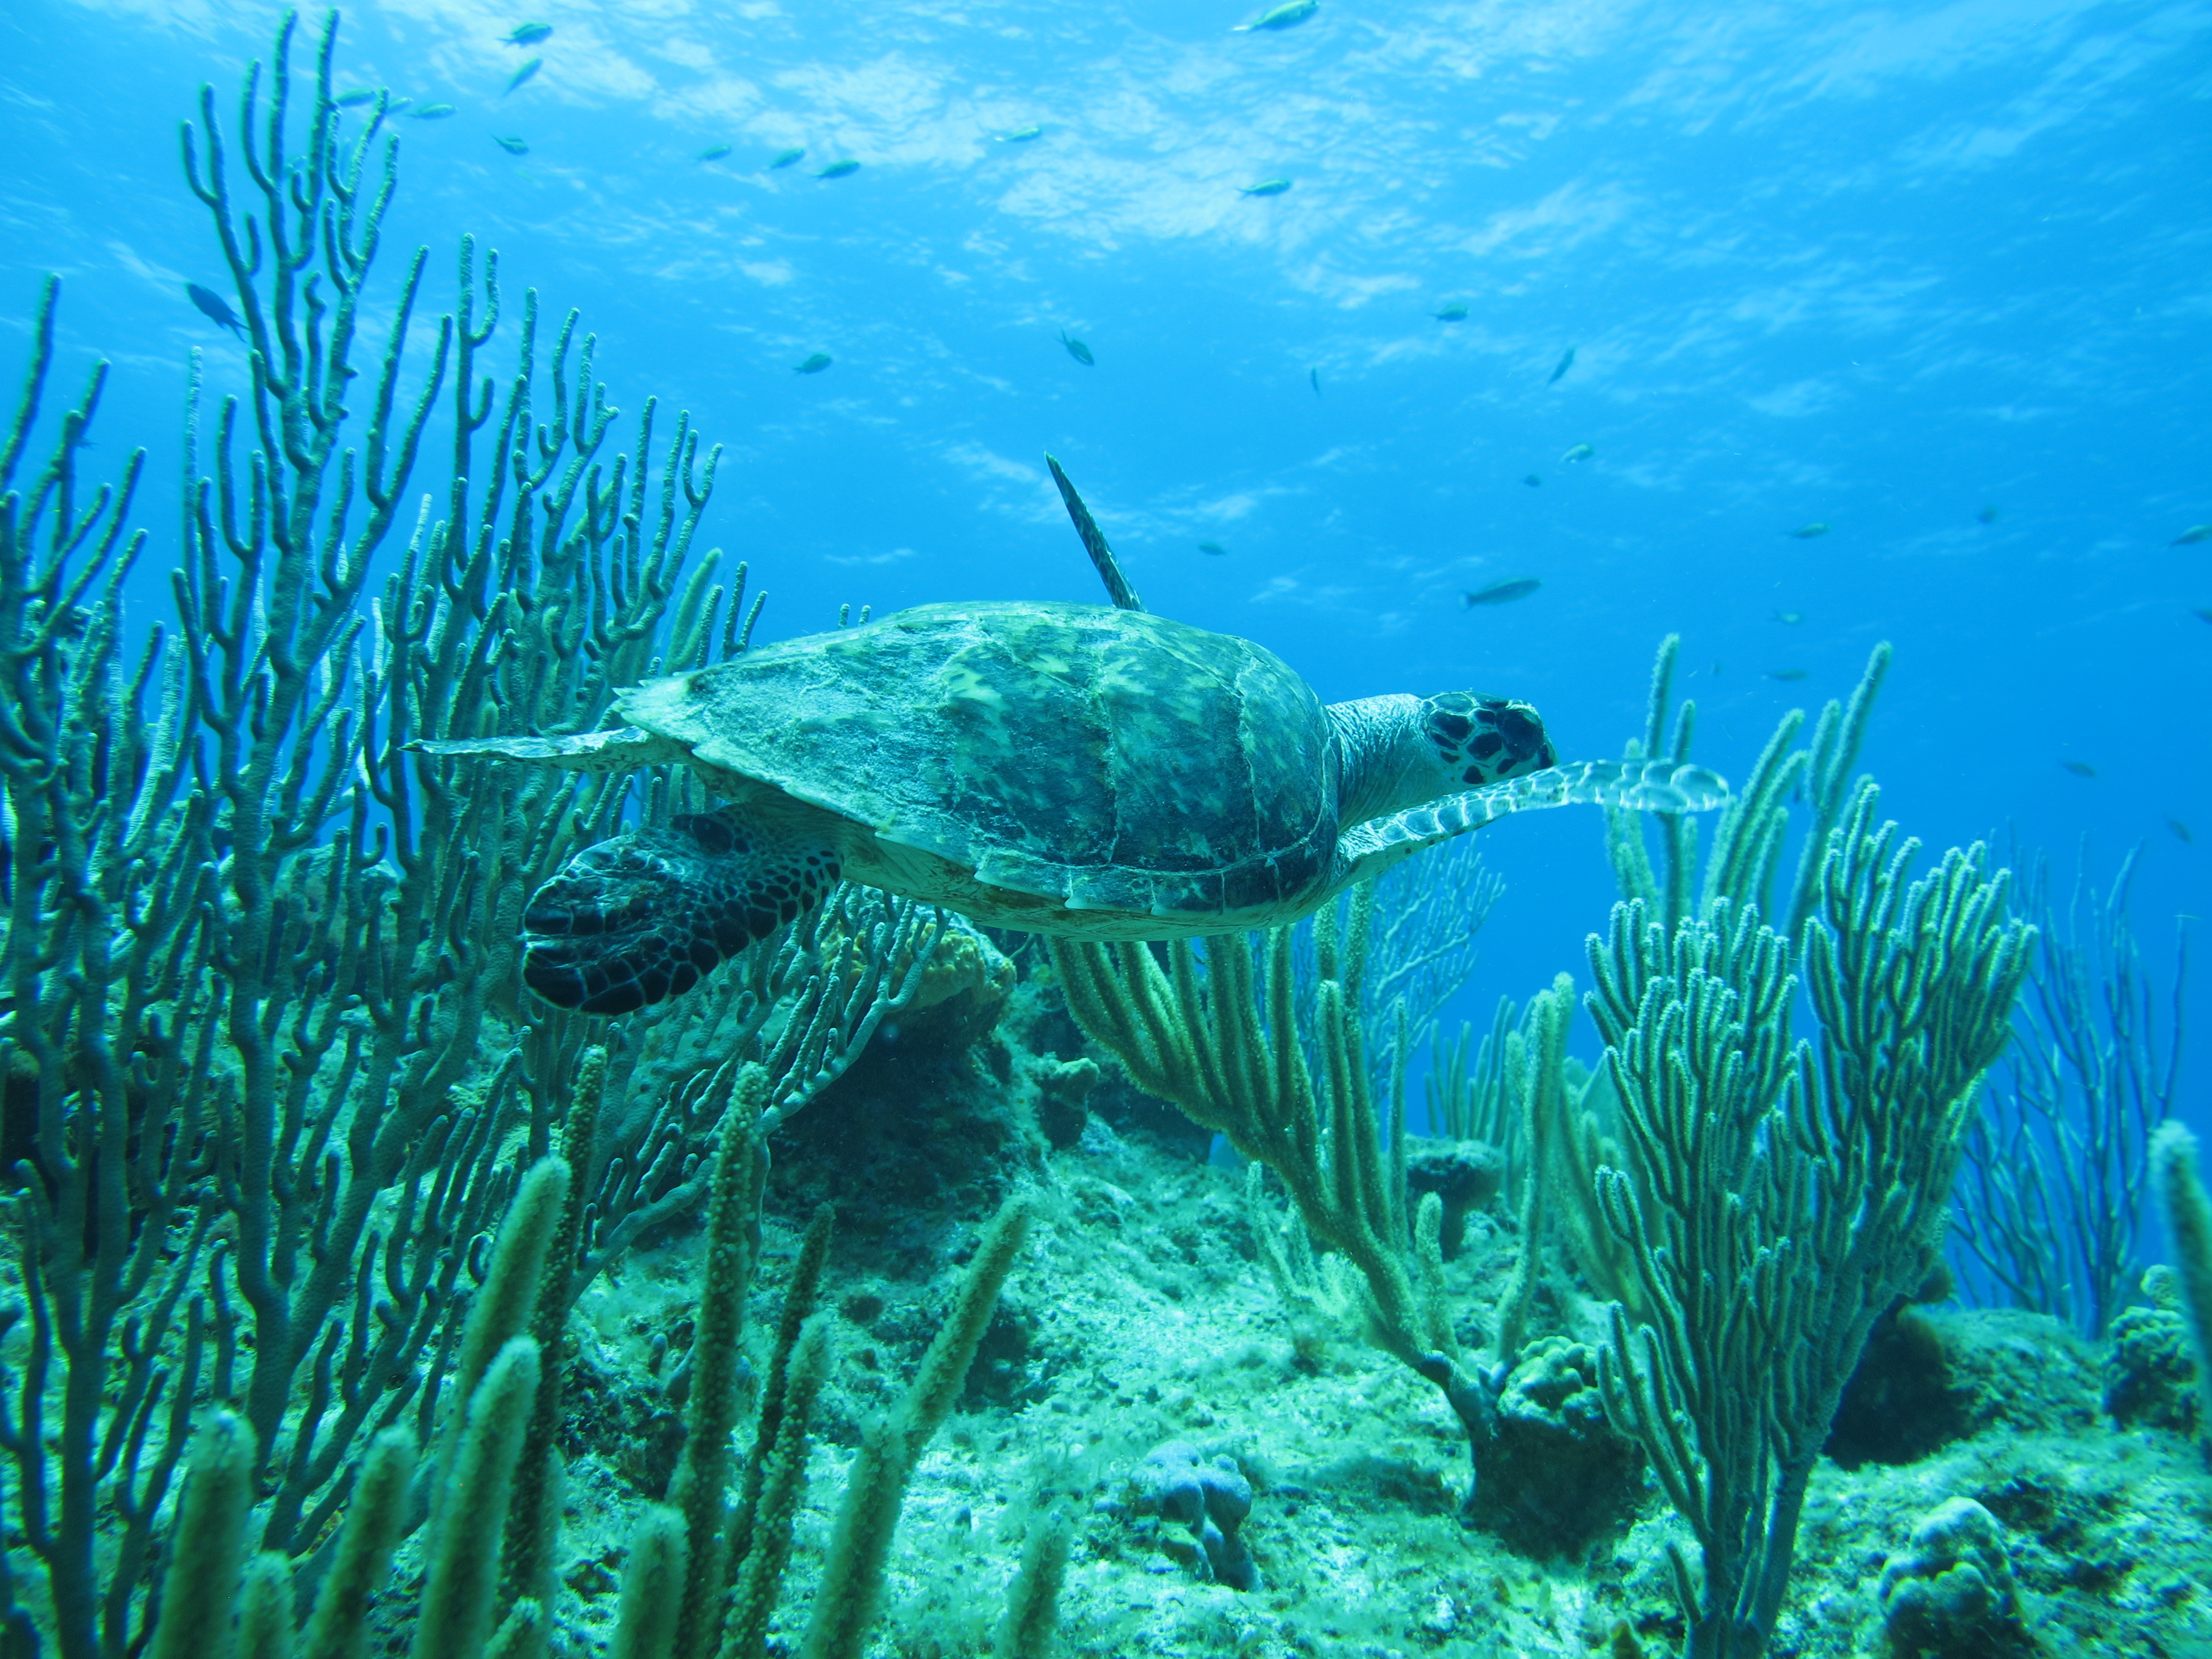
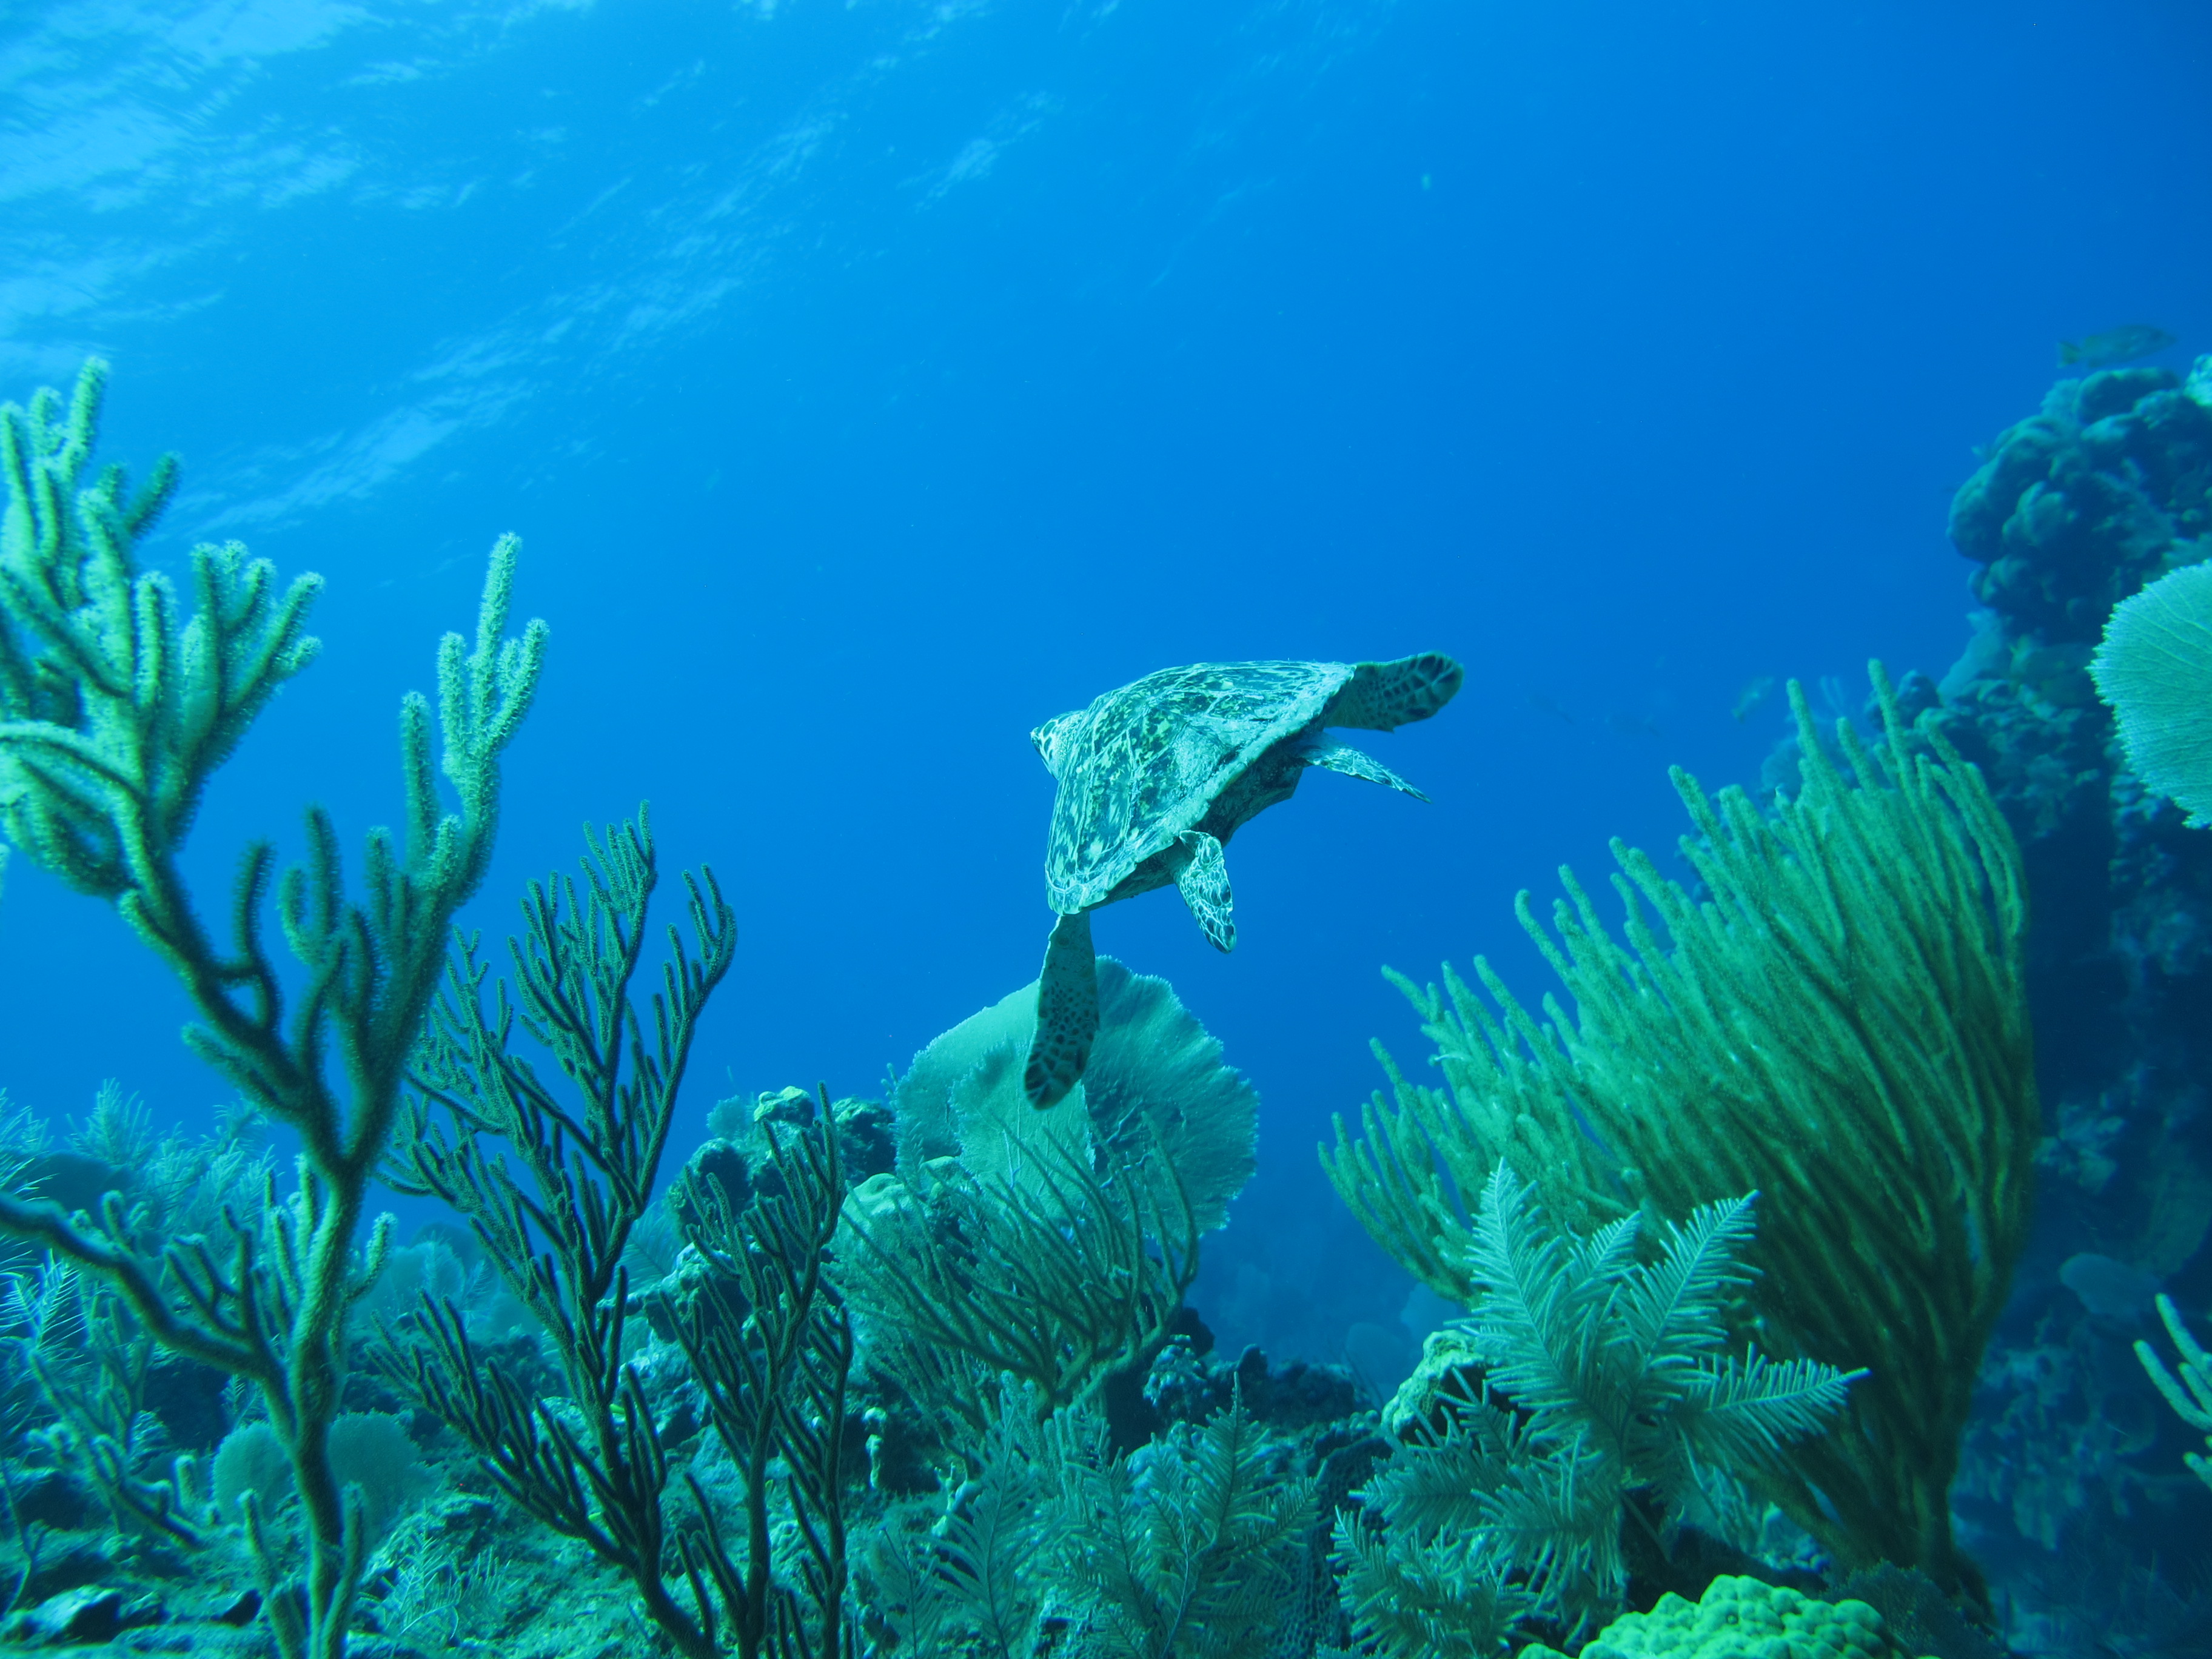
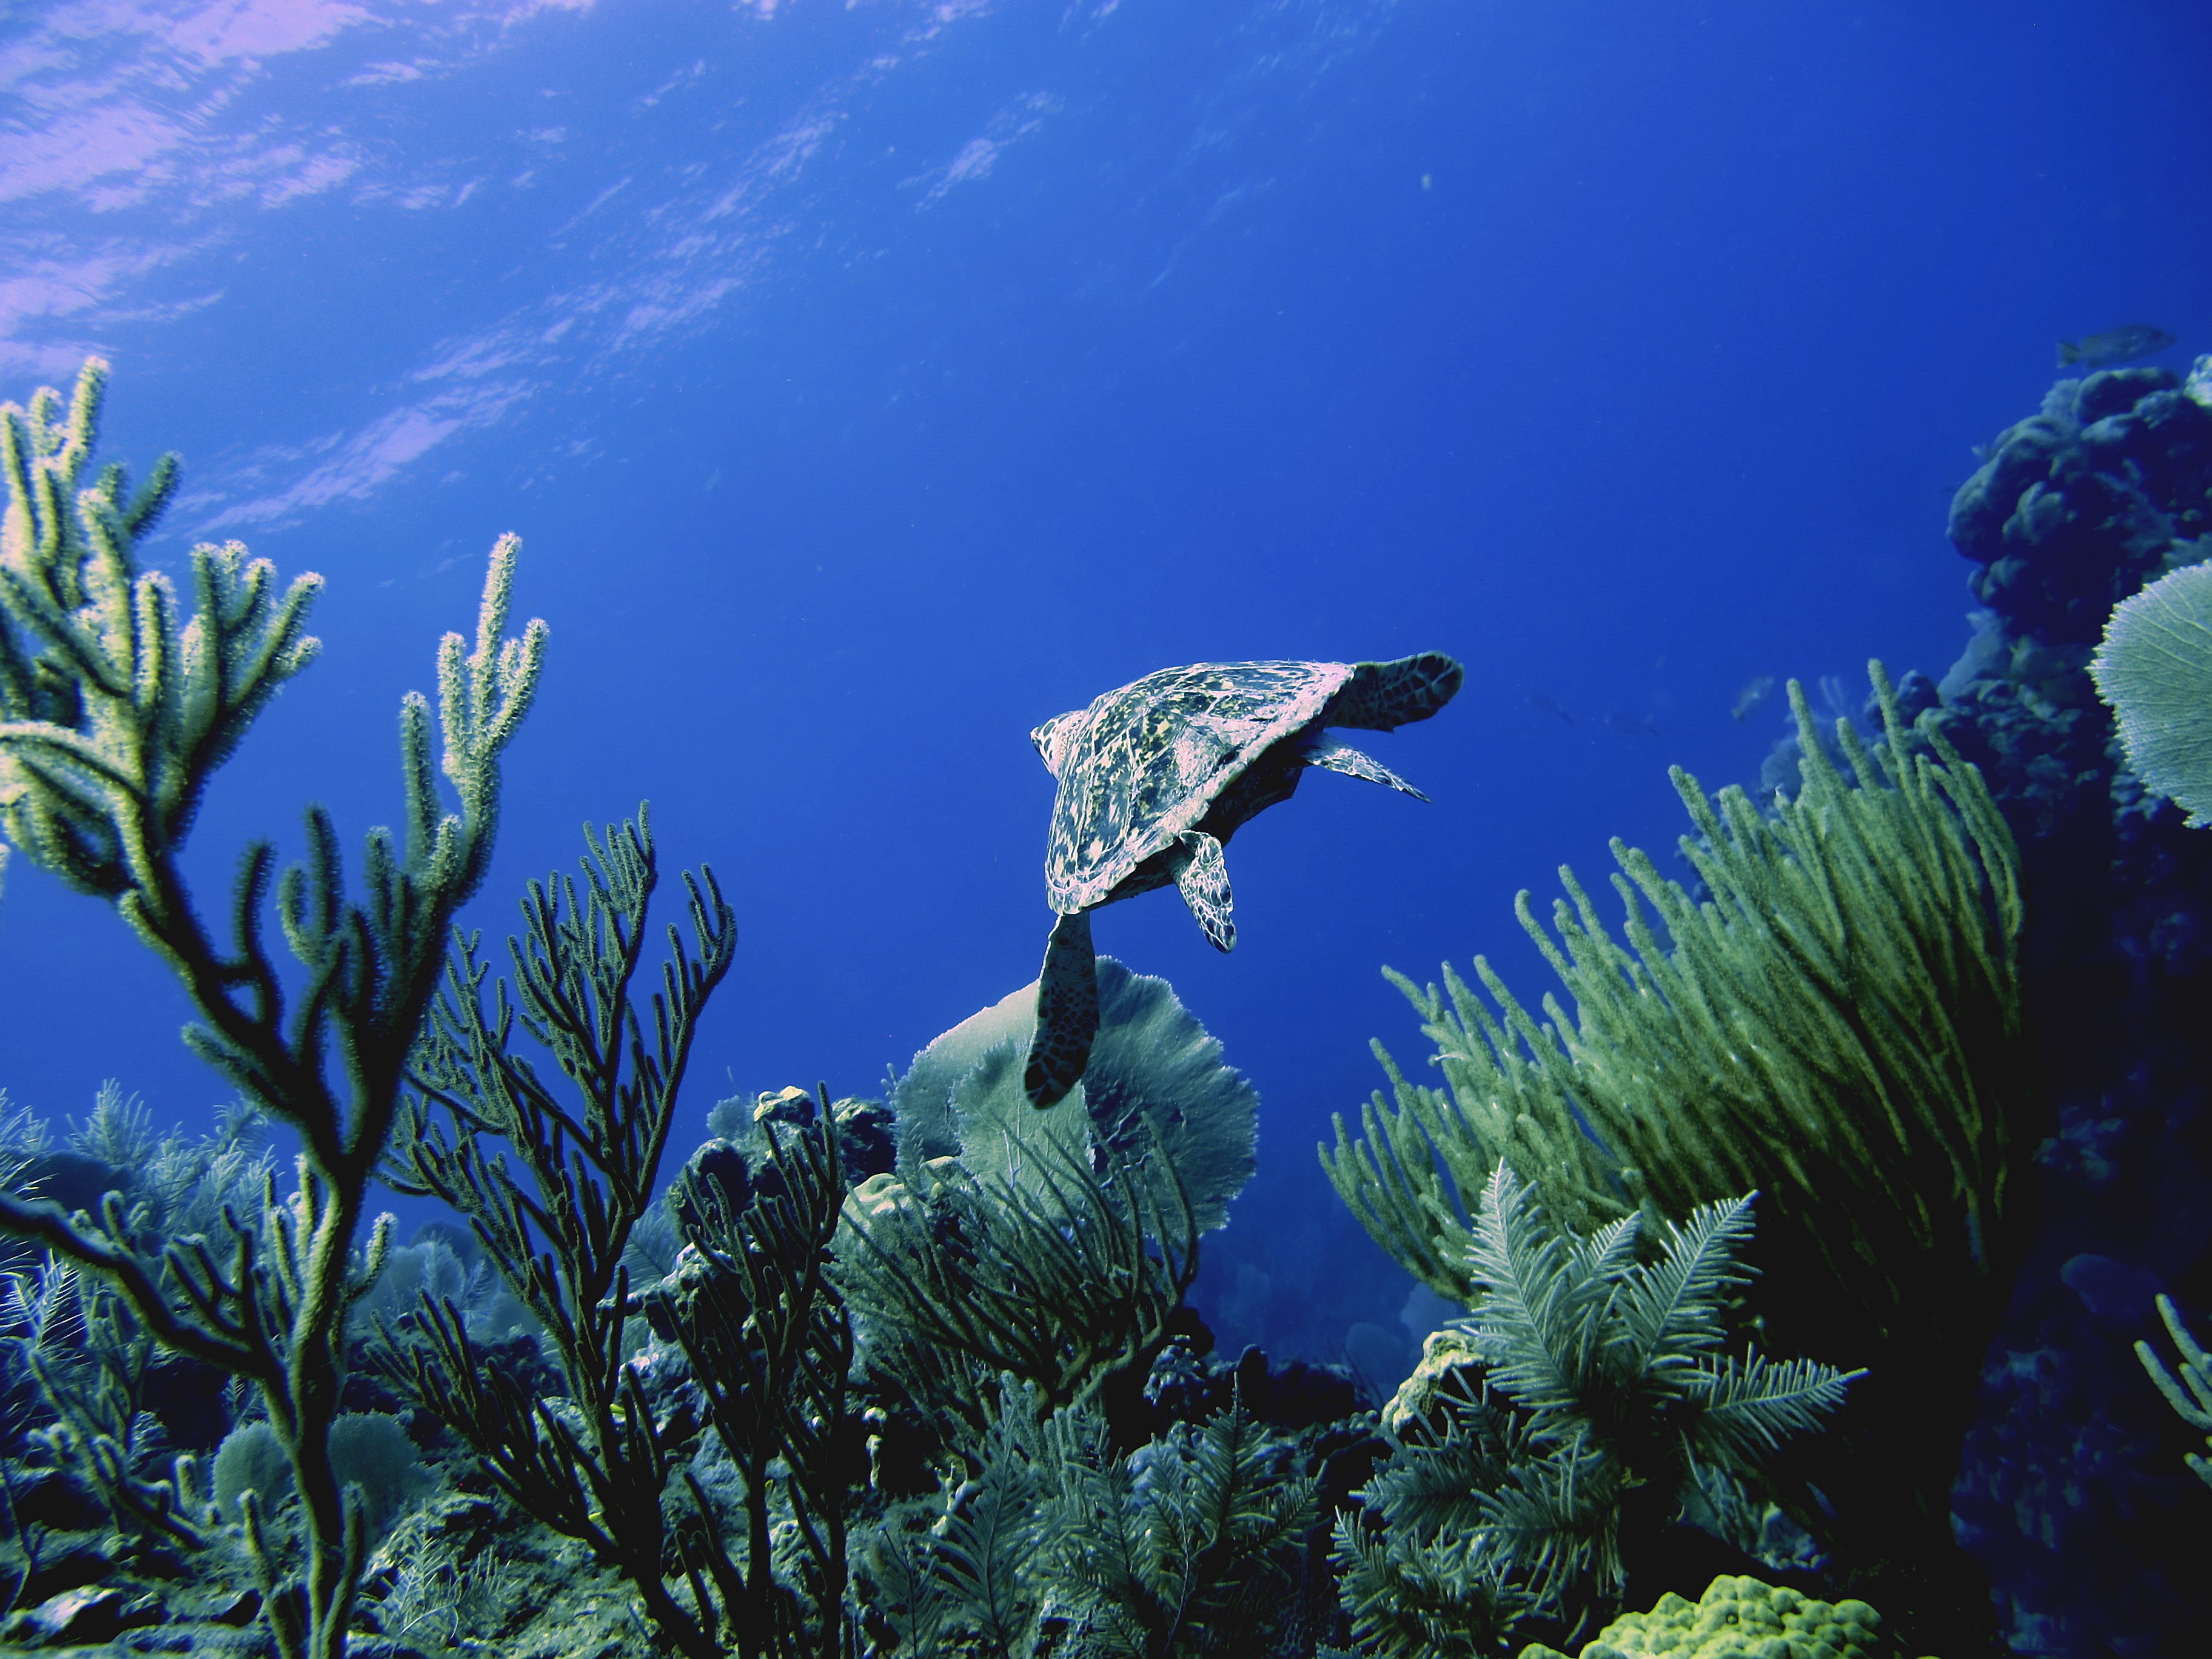
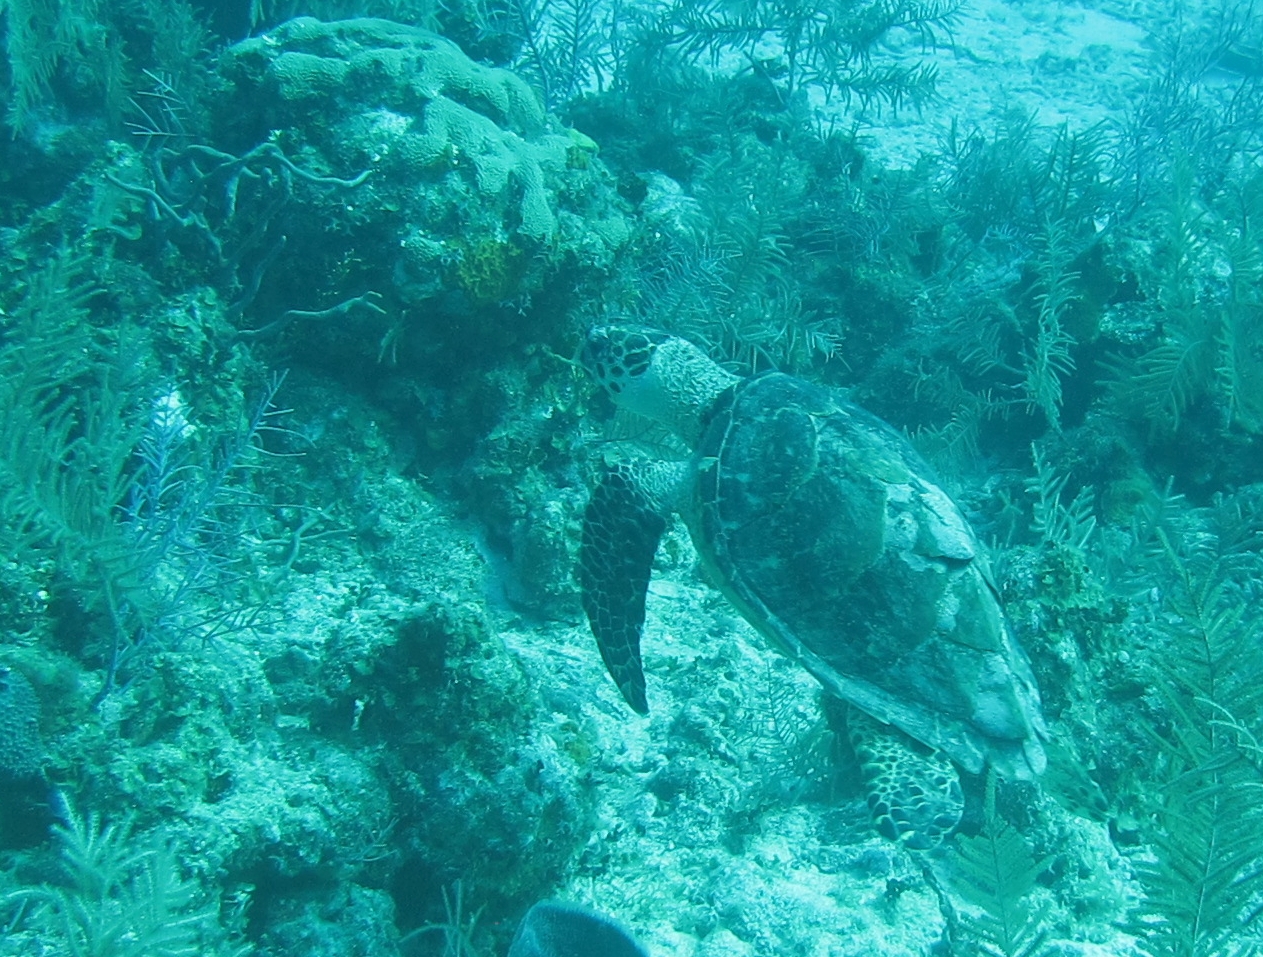
I like this photo, but as Anna said…would be better if the turtle was swimming towards me.


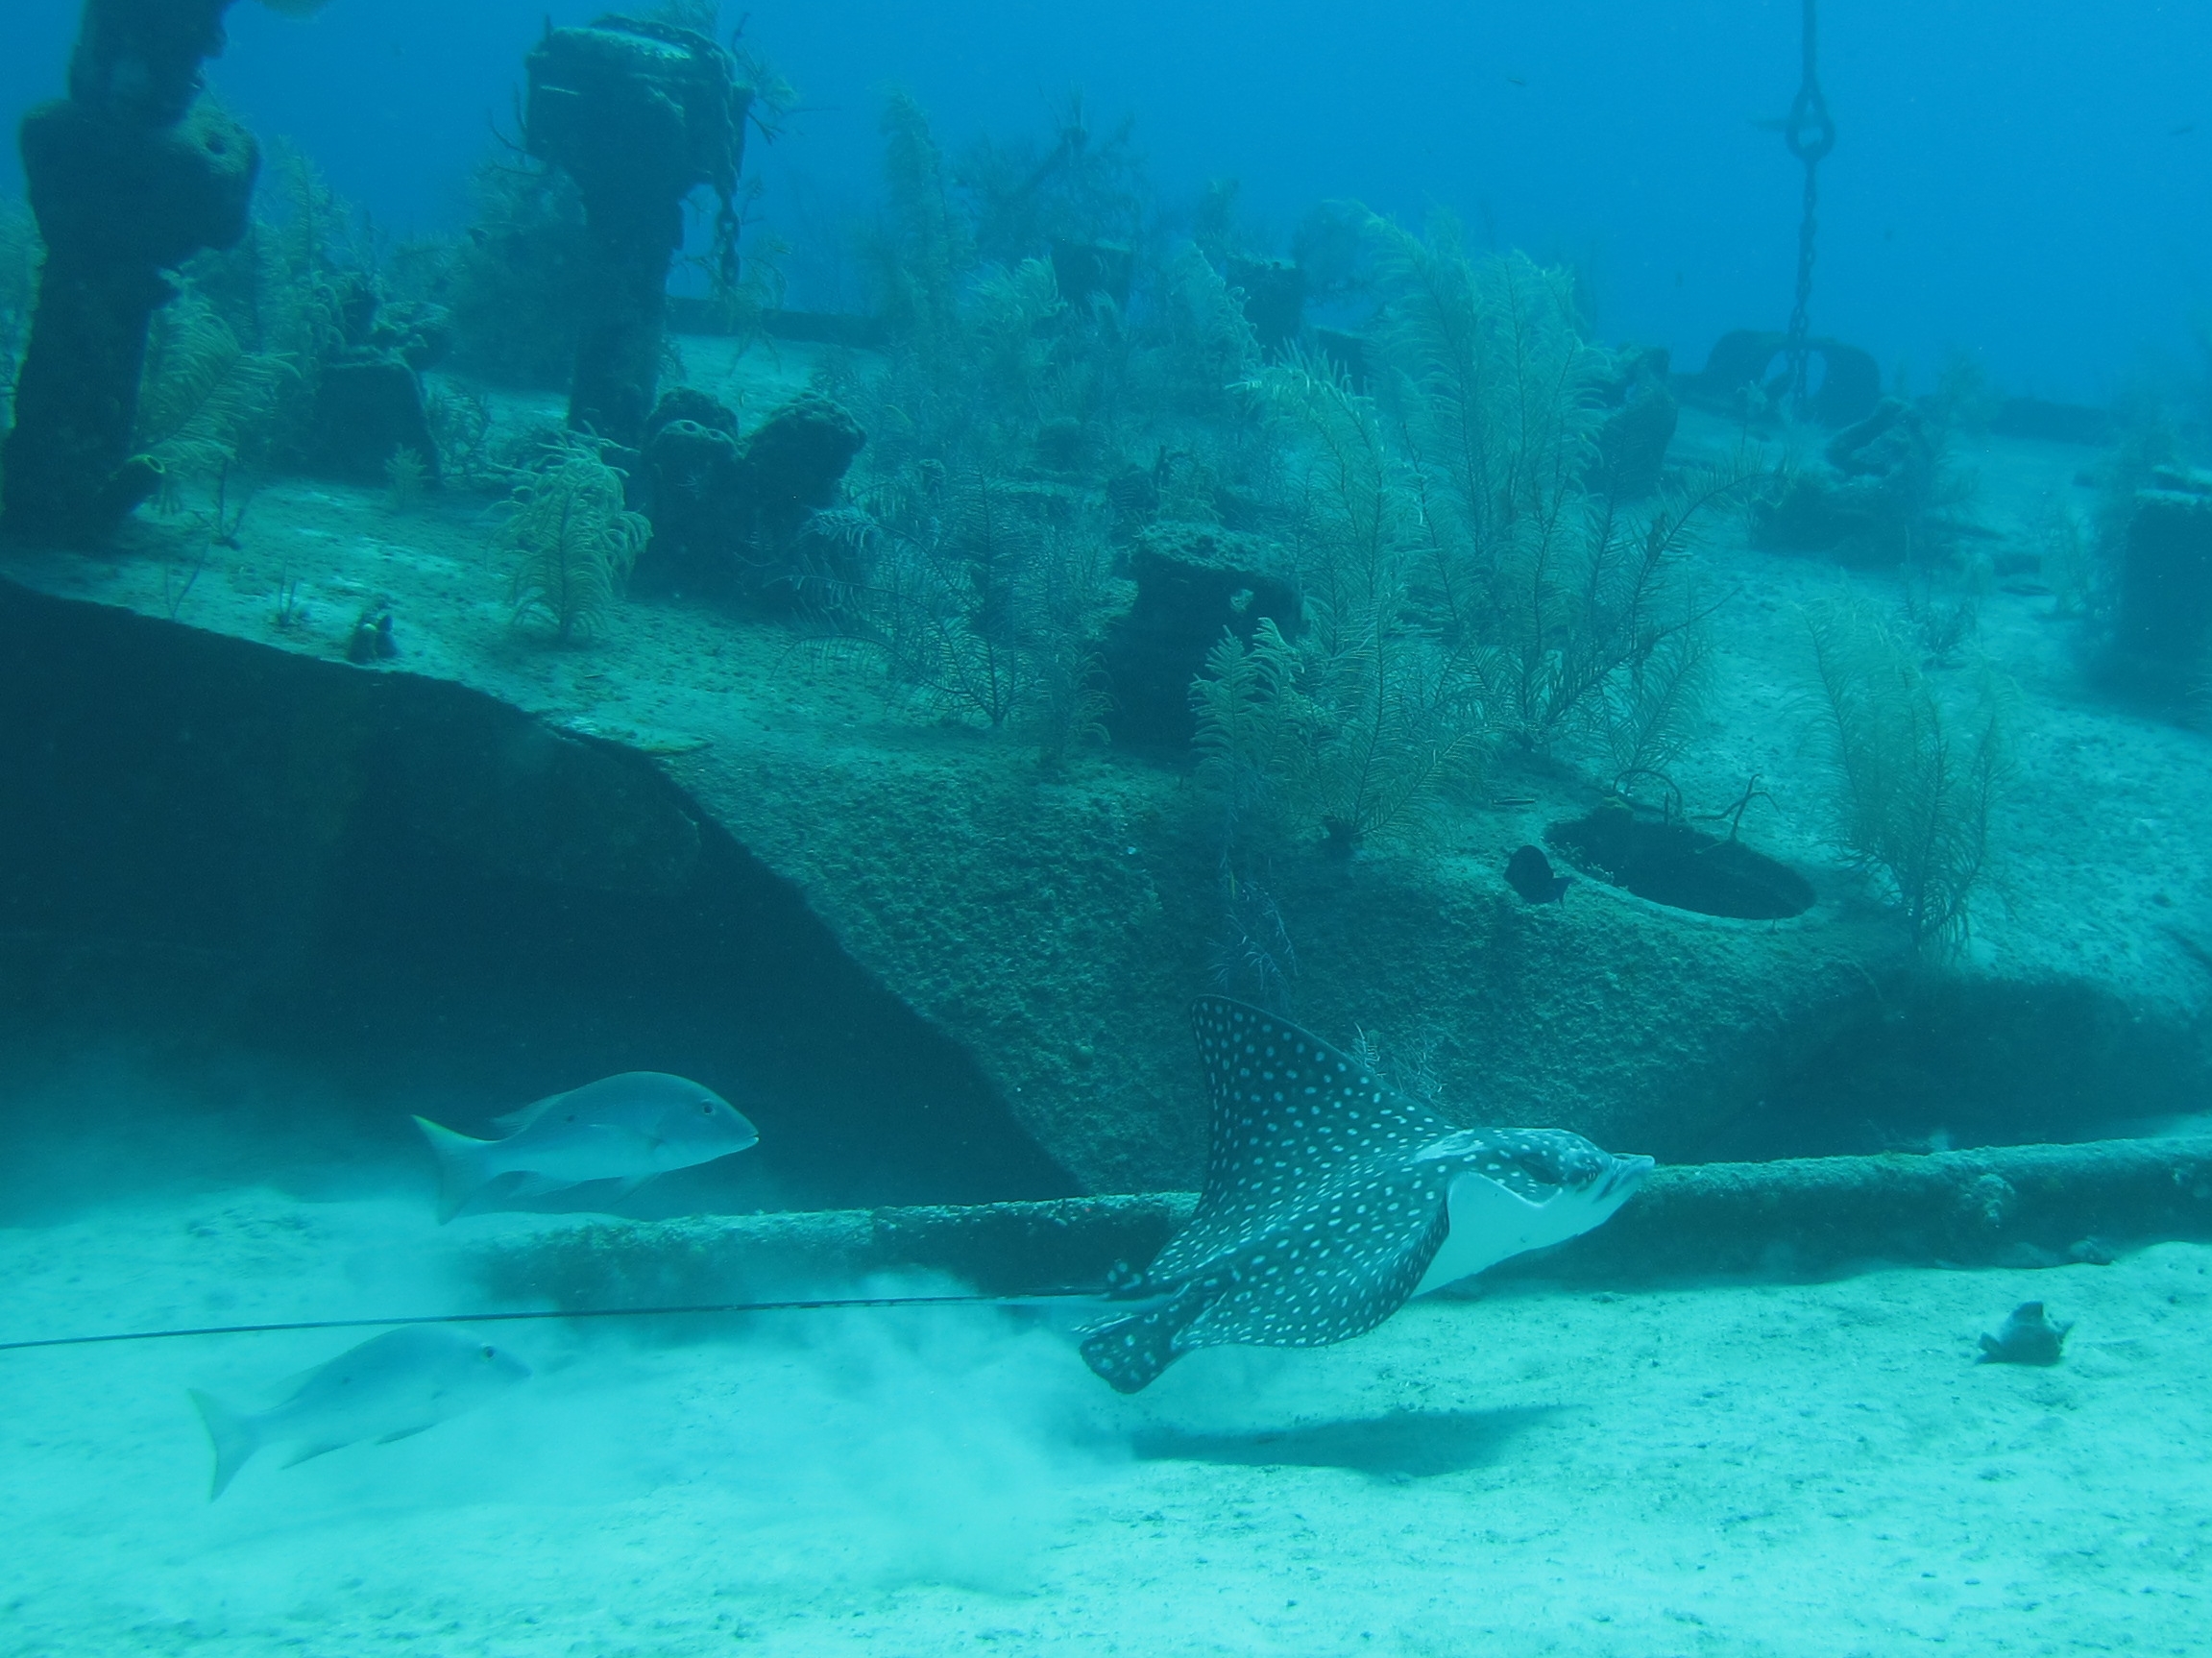
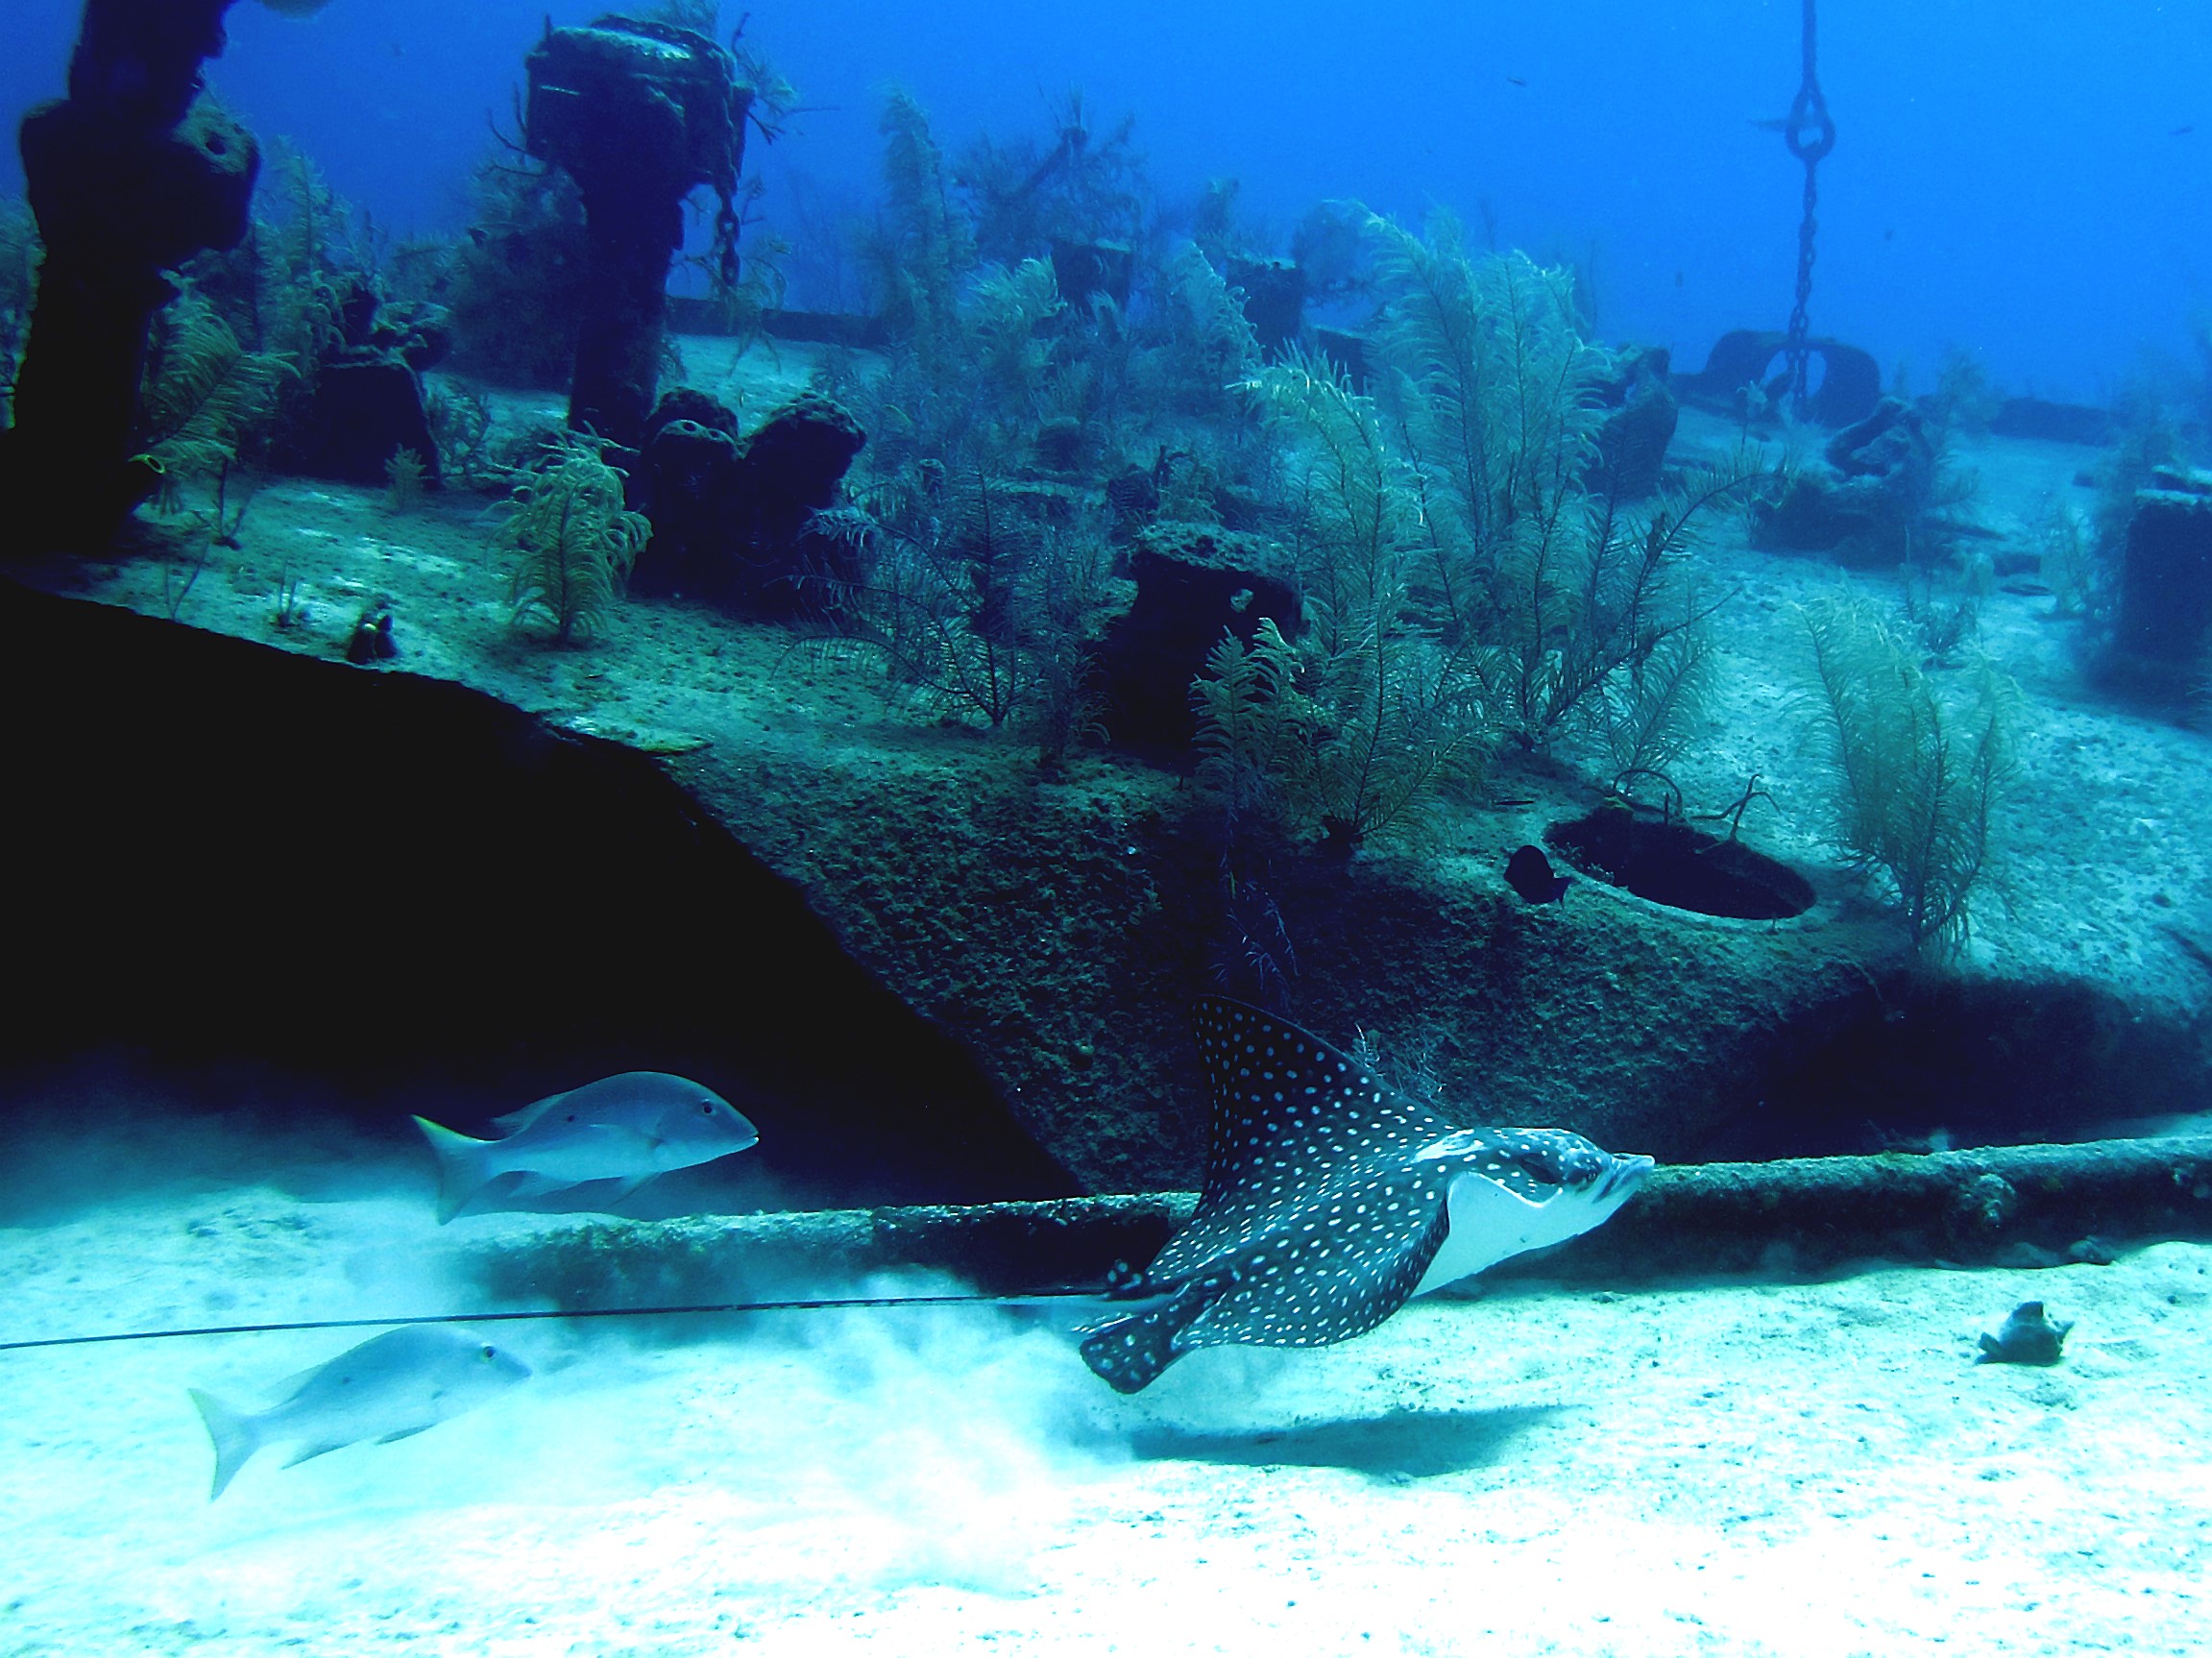
This Spotted Ray was hanging around the wreck of the Oro Verde.
I think this picture shows off really well how Vivid-pix can really bring the colours back to life.


Very nice photos! It’s good to know how to handle that color loss associated with underwater shots.
octogirl7
Thanks, yes, it’s a really useful tool to have. You could use Lightroom but this is simpler!